The Star Adventurer on a 055 Manfrotto Tripod
I have been using the Star Adventurer 2i for four years now and it is a mount that has enabled me to capture some beautiful astro landscape images and also photograph objects in the deep sky. When I first obtained this mount, I had no idea I would be venturing deeper into the sky to photograph galaxies like Andromeda, or star clusters close up like the Pleiades. When I first received the mount in 2020, I practiced first in my garden and I recommend all users do this where possible.
The Build
Unpacking this star tracker, the first impressions are that is is solid and well built. It requires a tripod (ideally carbon fibre to minimise vibrations, but I have photographed plenty with an Aluminium tripod and it has been fine). This star tracker comes with Wifi, and I will discuss later why this is such a boon if you want to keep things as simple and efficient as possible when shooting under dark skies. Save for the plastic reticule, used for polar alignment, the build of the SA 2i is of very good quality. The knobs and dials all have a quality feel to them and the mount can be powered by x4 AA batteries (I use rechargables), or via USB connection to a powerbank - a really nice function and quick to connect in the field. The pro pack, comes with a metal declination bracket and counterweight (I bought an extra weight for balance - this is crucial for great tracking at 200mm). There is also a ballhead attachment, which I use for astro - landscape pictures, allowing focal lengths of about 85mm and under to be attached via it. The polar scope is nice and clear. I do recommend a right-angled polar scope attachment, to save your neck when trying to align. The included equatorial wedge is of good quality - and much better than some other star trackers in this price point. It has never given me an issue in terms of it’s overall build quality.
Declination bracket for long lenses showing the polar scope connected over this for polar aligning
Polar Aligning and Balancing
When getting setup in the garden, the first challenge is to setup the SA in proper polar alignment and the mount being properly balanced in order that it functions and tracks well. This seems daunting it first, however with some practice you will get faster and better at doing so, like any task. In the northern hemisphere this process is simplified by requiring only to align to one star - Polaris. What you will find is, Polaris isn’t exactly the North Celestial Pole. The NCP is actually located in a circle around this star. The Star Adventurer app, which can be downloaded from Play store, enables information on how to align everything, depending on your location and the time of night. When I first received this star tracker, I luckily had a clear night a few days later (doesn’t always happen), I started with an 85/1.4 prime to give me a bit of a challenge. Polar aligning involves attaching an individual plastic part - a reticule into the SA which illuminates the polar scope and enables alignment. I was pleased that I could get 4 minutes right off the bat with the alignment I set. I didn’t try any more than this as I was pleased I could achieve pinpoint stars for 4 minutes at this focal length. Balancing involves moving the counterweight on the declination bracket so that with the clutch disengaged, no resulting motion occurs. It’s a case of bearing in mind some basic mechanics: Moment (turning force) = F (force) x D (distance). Put simply, use the lever arm on the bracket to place the weight in the place that causes no motion when the mount (clutch) is unlocked.
Nikon Z 8 and 70-200/2.8S with proper configuration and Declination bracket use
Using Wifi and the app
As I alluded to earlier, the Wifi functionality and the Sky-Watcher App really bring this system to life, and make it very simple to use. Classically, if you wished to control a deep sky session with a camera and a mount, you need to use either a laptop, an Asiair, or at the very least an intervalometer connected into the camera. The great thing about Wifi funcitonality, and the app, is that I don’t need any of this extra clutter when I am outside freezing myself to death photographing deep sky objects. I can simply connect to the mount via the phone app, and all I need is one cable running from the camera into the mount. From the app, I can control exposure length, spacing between exposures and even dither in one axis. (Dithering is a process that involves instructions for the mount to move the field of view slightly between exposures so that when stacking images, things like fixed pattern noise and other nasties such as hot pixels get cancelled out of the stack). Essentially this process improves your data and I nearly always use this. Wifi in this mount (indicated by the 2i in it’s title) might seem trivial, however it has made everything so simple to use. I previously tried an Asiair with DSLRs and found it fiddly and had issues with live view. I get very little time under dark skies. I either have cloud, or worse rain, or extremely high winds, or a moon to contend with. On nights that I have time to do this, I don’t want to spend time with laptops and cables running all over the place, troubleshooting one problem after another, with a setup that takes an hour to start shooting, then the same time to break it down at the end of the night. Speak to any deep sky astro shooter - they will tell you they have wasted many nights not taking images. Instead they have been tearing their hair out trying to fix some random technical issue.
The Star Adventurer app is simple and well thought out with no connection issues ever
What can you achieve with the SA?
Essentially, this mount is suitable for tracking skies from extreme ultra-wide angle focal lengths, such as 14mm right up to about 200mm with decent exposure times, with no guiding. I am able to get pinpoint stars at 200mm with 2 minute exposures (be aware of course, that 200mm and 2 minutes needs practice to nail consistently). People are shooting this mount at 400mm and even 600mm, but bare in mind they are binning a portion of their sub exposures due to periodic error and completing very short exposure times of 30 seconds or less to prevent trailing. I have been asked before why I don’t guide - I see many shooting at 135mm-200mm and adding in guiding, it is just not required, as I am proving. None of my pictures are guided! Remember what I said earlier: simplicity is the greatest invention, Guiding would add another camera and cables into the mix, with all the problems associated with it such as laptops and Asiairs to control the device. I will say though, that if you are shooting with a large equatorial mount at a focal length of 600mm and up, you know what you need and it is obvious that to achieve decent exposure times, such as 3-5 minutes - you are going to have to guide. However, we are not speaking about that. I suggest you place the limit of this system at 200mm and forget guiding. If you want to try some ultra deep pictures for fun on this mount, go ahead but keep the exposures short. This system isn’t really meant for that. That would be where the larger mounts come in to play.
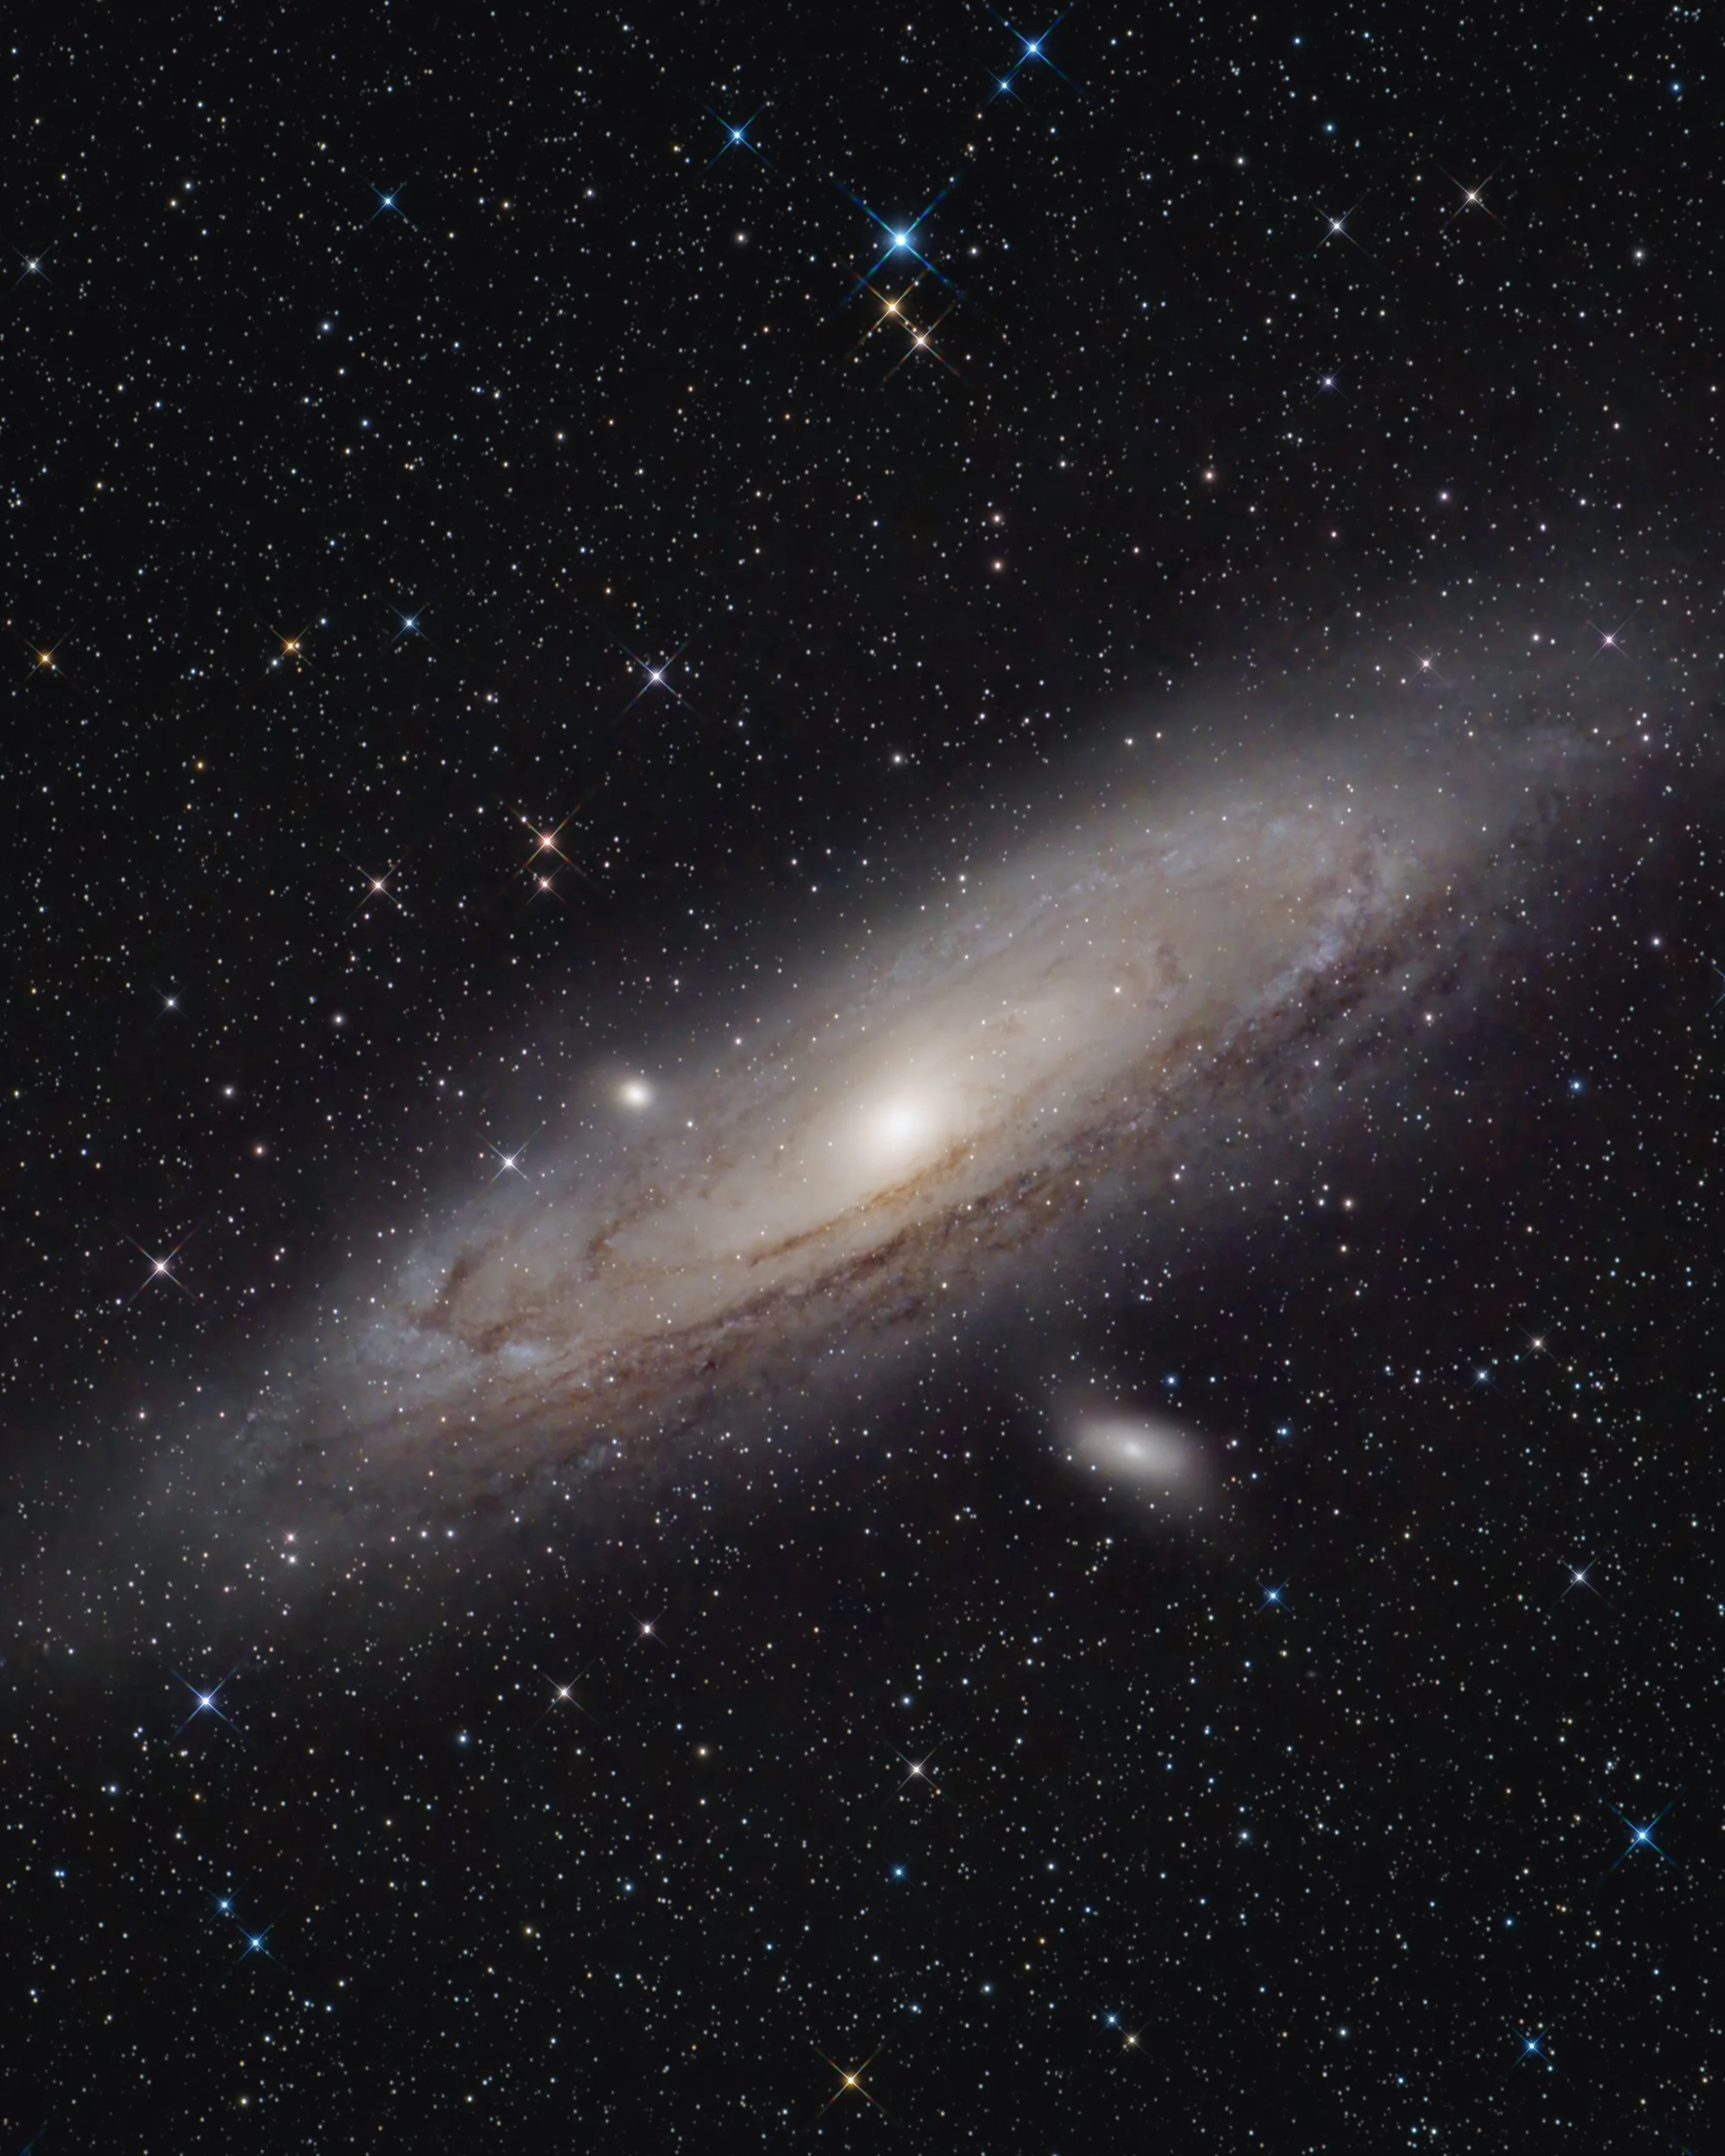
About 4 hours of exposures from bortle 4-5 using the above setup
Small Deep Sky Objects with the SA 2i
So since I have said we are topping out at 200mm for the most part, how do we fill the frame with small objects? Well, the answer is: we don’t, but there are several strategies which will help. The first is looking at your camera. I recommend a high megapixel camera, shot in crop mode, or a crop camera. The reason for this is, generally speaking you will get more pixels on target and fill the frame with them better. For example, a Nikon Z 8 (45MP full frame sensor) shot in x1.5 crop mode, gives just under 20 megapixels. The second part to this is enacted in post processing, called drizzle. So let us take Andromeda as an example. Now it isn't the smallest deep sky object, but having it fill the frame is hard at 200mm, but as you can see, I have made a half decent picture of it. Part of this is down to when you process the resulting stacked image, the object physically gets larger. After we have put the camera into crop mode, or selected a x1.5 crop body to begin with in PP, we can do something called drizzle integration. This was developed by NASA. This is a method of obtaining more detail in your resulting file, meaning, if done correctly, we can produce a file larger than 20MP, perhaps put it back to 45MP, and thus crop it much more aggressively in post, enabling a closer view of your deep sky object. To benefit from drizzle, you must have a lot of data, multiple hours. The data also must be dithered, as I mentioned earlier - this mount allows for that. If you are using another mount that doesn’t do this - then this technique won’t work. This along with the other points raised here is one of the many reasons I highly recommend the SA 2i.
If you enjoyed this article, consider following me on Instagram or Facebook.
Steve

Comet C2022 E3 (ZTF) shot with the Star Adventurer mount and a 70-200/2.8 lens, Camera - Nikon D850